Sonntag, 18. November 2018

Sonntag, 12. Februar 2017
Assembly Instruction for JPS 356-912 Oilsump-kit
Pictures for assembly of JPS 356-912 Oilsump-kit


Take the oil tube
extension and put it with the small dia. in the ring-magnet
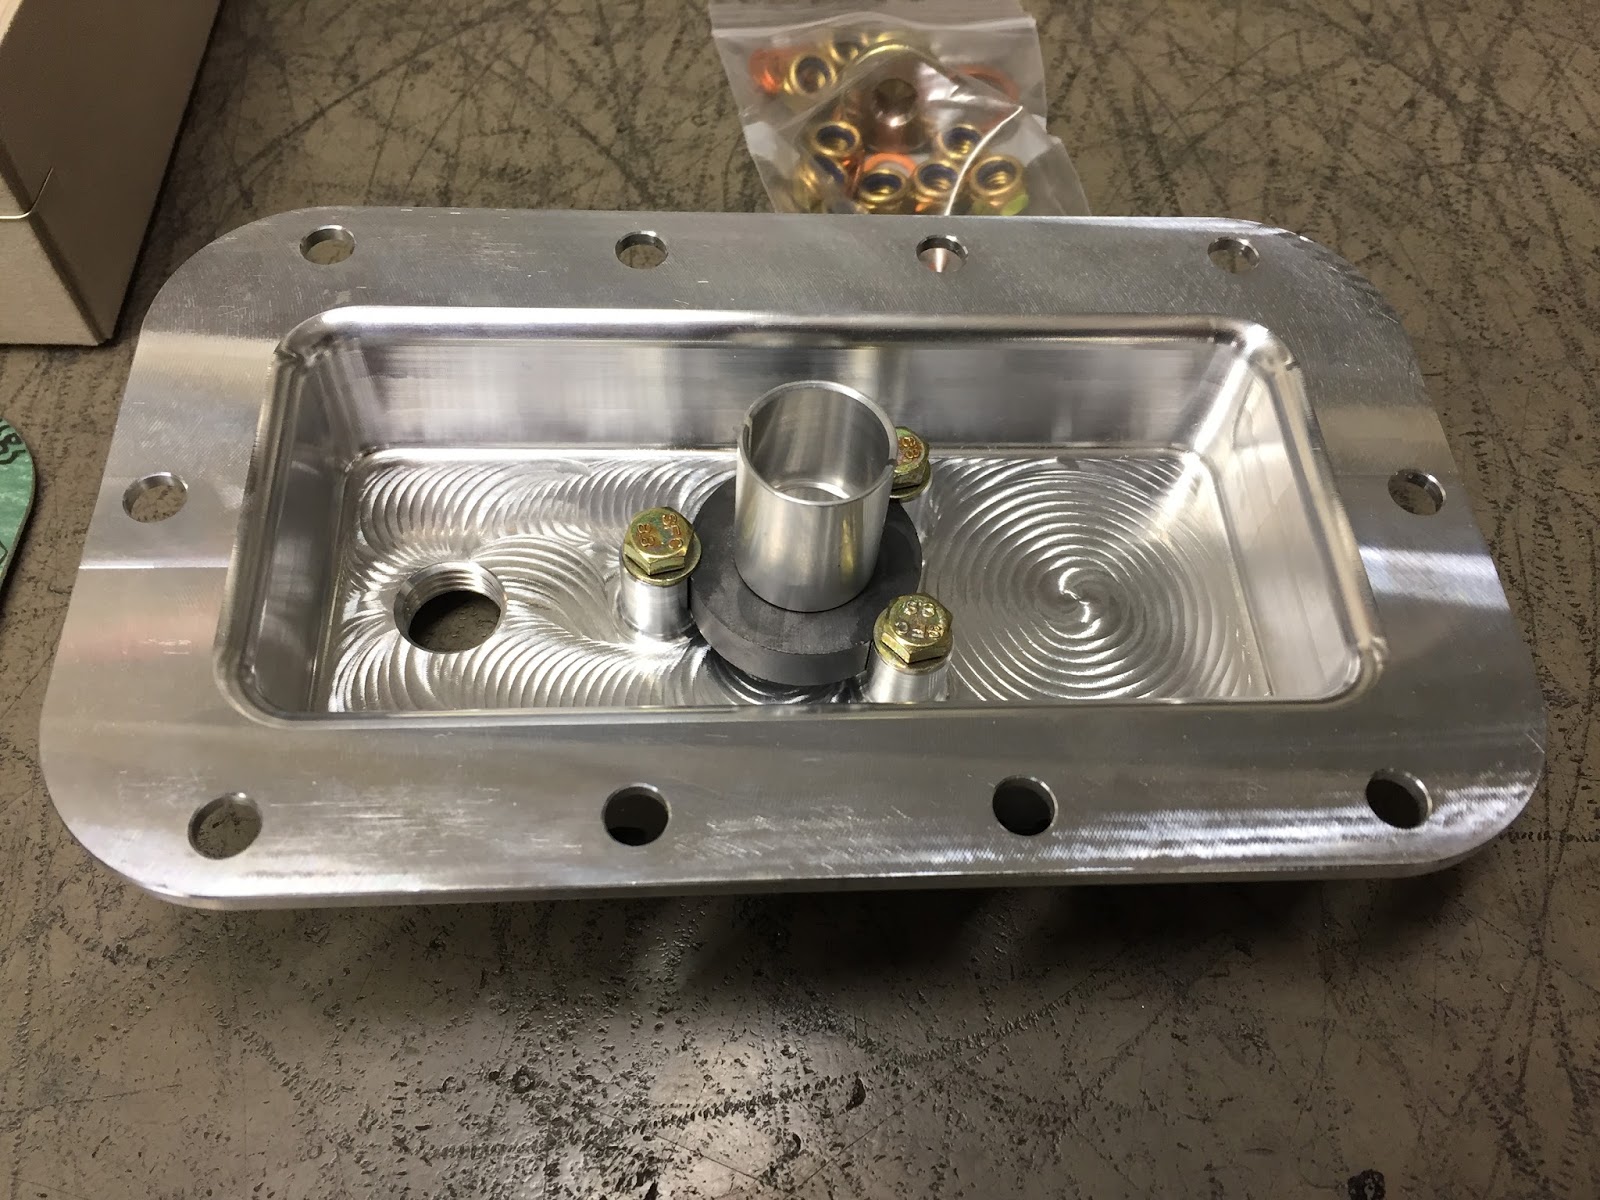

Install the 1st
gasket, the Oil strainer, 2nd gasket

now attach the oil
sump-plate make sure the oil tube fits into the oil tube Extension


Attach the cooper
rings to the M6 bolts

Tighten the M6 screws
(torque 8Nm or 6Ft-Lbs)


Install the cooper ring over
the drain plug an tighten it to (torque 20Nm or 15Ft-Lbs)
Sonntag, 6. November 2016
The Typ3 Engine Project
The Typ3 Project starts something different.
Normally everybody asks for more displacement, but not the owner of this Project.
The car is used for vintage rally`s and sometimes it is used to pull a trailer with a historical Formular Vee.
So it was clear that the max. was 85.5mm Bore.
The next challenge was that it must have a closed engine compartment lid

Starting with a new AS41 VW Engine case

For the crankshaft it was the owner choice to take a NOS 69mm VW Crankshaft

8 doweled with I-Profil balanced rods with ARP2000 bolts


Close to 100 Gramm ligther wrist pins is always a good choice.
Try to remove 25g per Piston :-)

Shortblock assemply with thick washers

37cc combustion chamber, the first cooling fin is gone
40 / 35.5 Valves

Lonblock with CSP Oilpump Cover

The cooling fan was welded and balanced with that large diameter ist a must for me

Upside down of the Longblock

CSP Phyton for Typ3 attached with the super short and curve manifold it is a challenge!
And you can`t use airhorns with the flat airfilters

The engine after Brake-In,
after the installation in the car it was once more a challenge to find the perfect Setup of the carbs and ignition to have no flat spot.
But we found the perfect setup and big smile on the face of the owner after the first testdrive told us.
Mission accomplished
Donnerstag, 20. Oktober 2016
Swiss Camper Special Assembly

He did a lot of engines overhauls, but only stock engines so he was happy do get this performance engine ready to finish.


Engine is assembled an ready for the Break-Inn. Very nice assembly! Well done :-)

Engine after Break Inn

This is a very powerful engine together with the long transmission from the 2L Typ4 it is perfect to travel. Even with this weight it is easy to overtake or hillclimb.
Sonntag, 21. Februar 2016
Swiss Camper Special Part 2

There is always a lot of handwork to do ....

This is the layout for the rockers that I like
CroMo M8 bolts, SW15 Nuts, solid spacer and Porsche style adjusting screws

Shortblock

Checking the piston residue

JPS custom pushrods will replace the stock pushrods

227g weight improvement with only the pushrods .....

Longblock is ready :-)
Sonntag, 24. Januar 2016
Swiss Camper Special
New Engine Project is the "Swiss Camper Special", the goal of this project is to build a TypIV Engine with a lot of torque and power and the full reliability to push a heavy Westfalia Camper.
It`s no secret that I`m a fan of the TypIV engines.
For me it`s the perfect Bus engine!
Especially when you but in some goodies like this:


It`s no secret that I`m a fan of the TypIV engines.
For me it`s the perfect Bus engine!
Especially when you but in some goodies like this:

96mm AA Biral Cylinder, a good choice

Measuring the valvepocket volume

Backcut grinding on the 44mm Manley intake valve

Machining of the new AMC cylinderheads

I don`t like the M7 rocker studs, I replace it with custom M8 CroMo rocker studs

Manley Line-up

Longstroke counterweigth crank with H-Profile rods and ARP 2000 Screws.
This crankshaft have an additional Tenifer heat treatment is polished and balanced
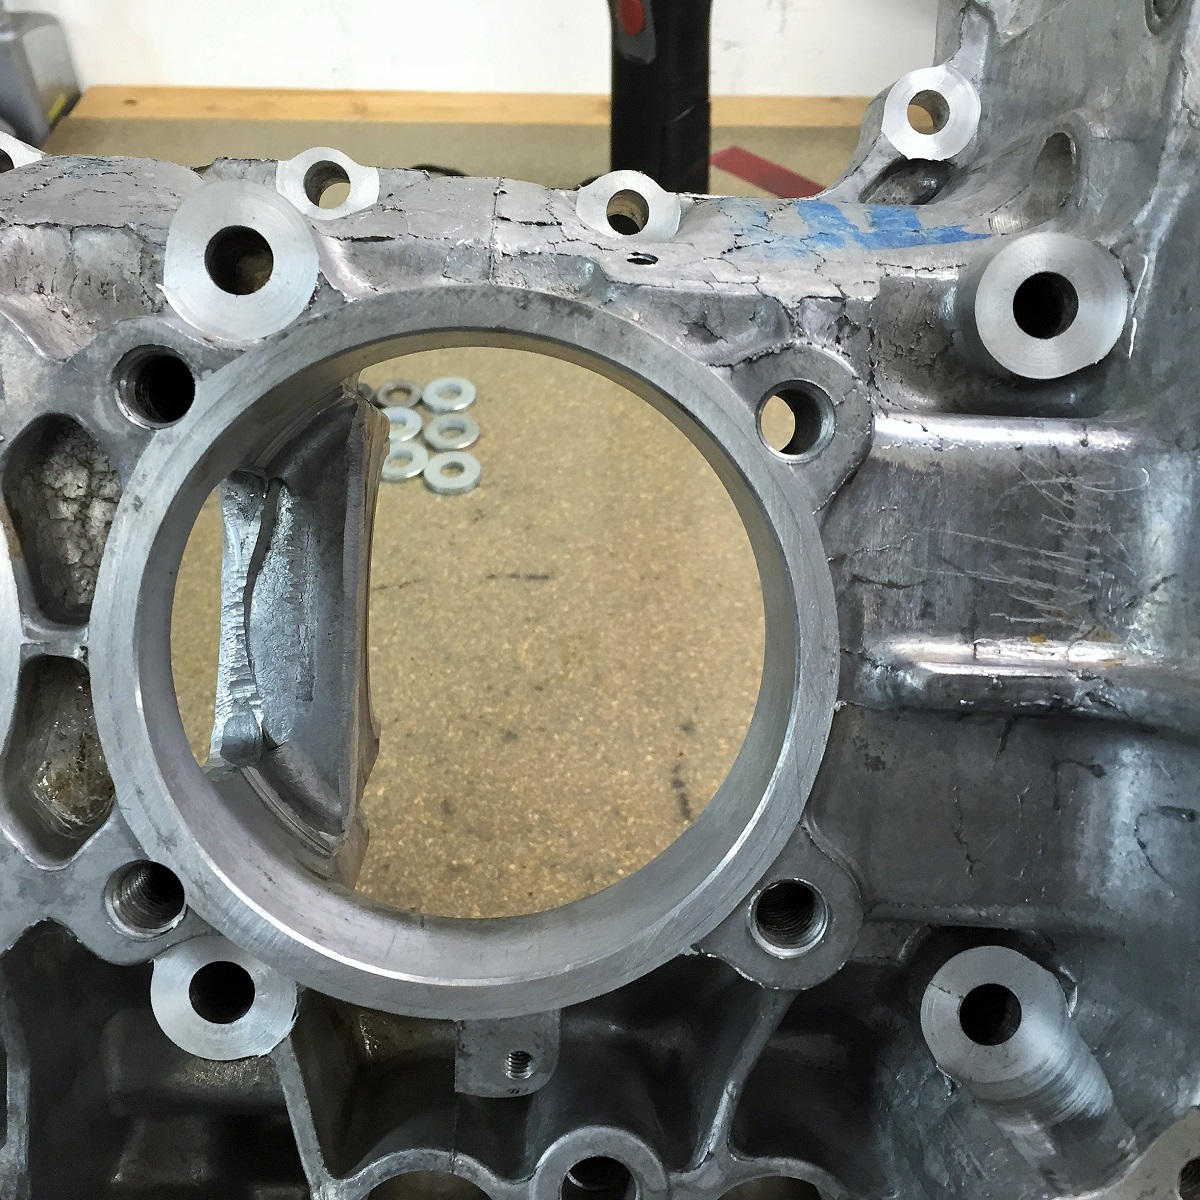
A big improvment on TypIV Engine Cases too:
Gene and Gary Berg case conversation invention
Thick washers a perfect flat surface and the correct torque!
Sonntag, 3. Januar 2016
Final Assembly Porsche 912 Engine
This is the Final assembly of the 912 Engine
I`m proud to show you the result of a lot work and organising parts for this Project

Longblock with new Oilcooler in place

I like this view!
The Longblock looks like artwork

Manifolds and Cooling in place

The next 3 photos Show the complete overhault Solex PII-4
Many of you know that I work together with Guido Wensing
he did this brillant work on the carbs.
Perfect work! Thank you Guido
If you like that your Carbs look like this here that`s the Link:


Together with new Knecht Airfilter it brougth back as it should look like

!Engine Complete!
Sonntag, 13. Dezember 2015
912 Engine Project Part 2
It takes some time to have all parts together for a nice build Porsche 912 Engine.
This engine will have it all.....

The 912 Crankshaft after polishing looks nice

the new lifter where checked for the cambered surface

Looks good!

The Lifters are all in tolerance but I like to pair it with the rigth lifter bore

New JE Pistons, 2g difference that`s too much for me.
I`m a little disappointed about that, because a high price piston like that should be better in tolerance.
Anyway I brought it to 0,2g ;-)

AA Cylinder: Measuring the length, the Ø and out of round all where perfect :-)

Backlash and axial endplay of the Camshaft

Good fit of the Rods!

Dial in the WEBCAM Camshaft
The quality and finish of WEBCAM is very good

Just to compare:
left 912 Pushrod
mittle JPS custom Pushrod for this engine
and the VW Typ1 stock

The weigth of 8 Stock 912 pushrods :-(
That`s too much in weigth and they where too long too!

Ah, 202g ligther than stock!!
JPS Aircooled Aluminium Pushrods for Porsche 912 Engine, you have the correct geometry with the rigth length and reduction in weigth too.
Win win!

The combustion chamber after masching!
On Porsche 356 and 912 engines the combustion chamber are not equal you have to fix all

The 3. Piece in place with CSP Oilpumpcover
Abonnieren
Posts (Atom)